
To protect a cell in Google Sheets, select the cell you need to lock, move to the Data menu, click on Protect sheets and ranges, choose Add a sheet or range, type a description for the cell, and click on the Set permissions option. In the box that appears, choose the permission Only you. Finally, click Done.
Read further to learn how you can protect the cells in your worksheet easily with the step-by-step guide below. In this article, you will learn all the details about protecting cells in Google Sheets. So let’s take a look!
How to Protect Cells in Google Sheets
Difficulty: Beginner
Time Estimate: 10 seconds
Take a look at the guide below to learn how to protect cells in your worksheet.
- Click on the cell you need to protect.
- Navigate to the Data menu.
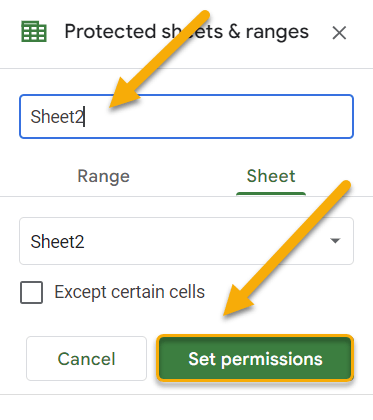
- Select Protect sheets and ranges.
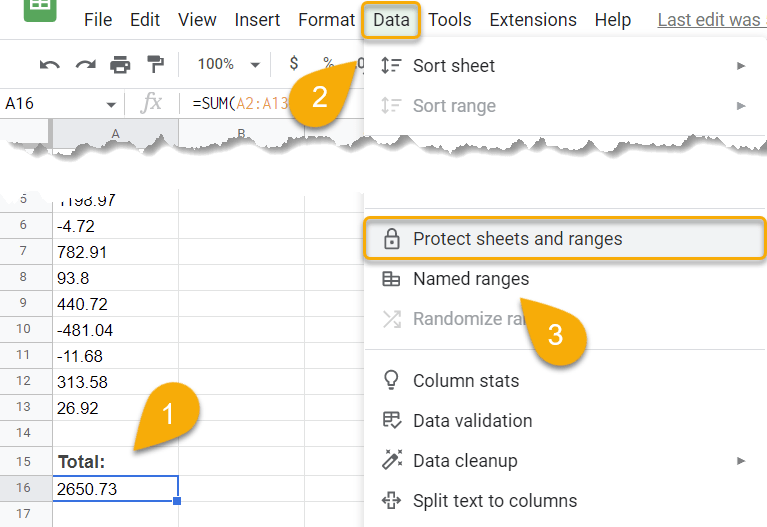 4. Choose the Add a sheet or range option.
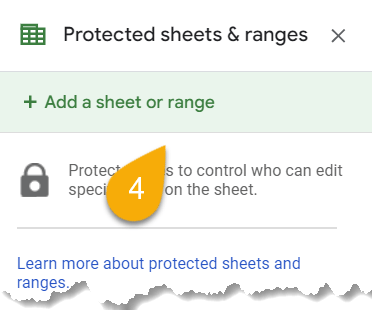
- Enter a description for the cell you have selected.
- Click on Set permissions.

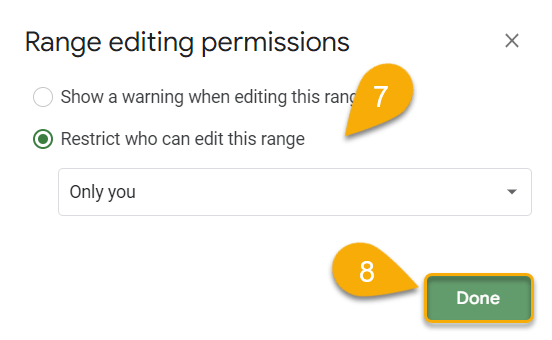
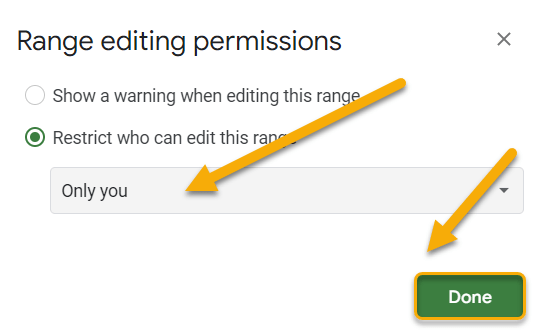
- In the Range editing permissions section, select Restrict who can edit this range and pick the option Only you.
- Tap Done.
Congratulations! You have now locked that cell to protect it from editing.
How to Limit Editing for a Cell to Specific Users
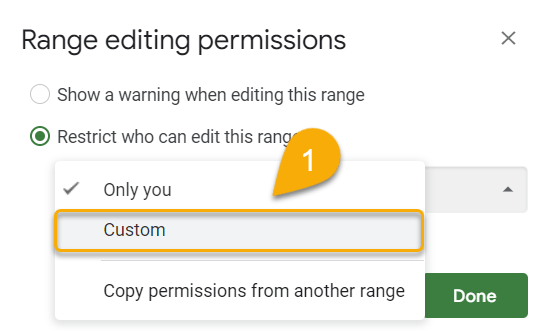
If you want to add access for specific users to a cell you locked, you can easily set that up. Follow all the steps shown above, but when you get the Range editing permissions section, do the following:
- Under Restrict who can edit this range, select Custom from the permission list.
- Enter users’ emails to add them as editors.
- Click Done when completed.
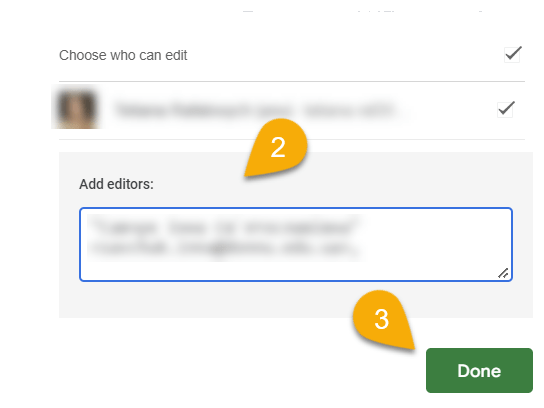
That’s it! These users now have permission to edit that cell.
Protecting Cells in Google Sheets FAQs
Do you still have questions? Check out the FAQs below to learn more!
How do I lock an entire sheet in Google Sheets?
To lock an entire sheet in Google Sheets, right-click on the sheet tab and pick the Protect sheet option.

Next, enter a description for the sheet and click Set permissions.
Finally, under the Range editing permissions, select Restrict who can edit this range and choose the option Only you. When finished, click Done.
And there you go!
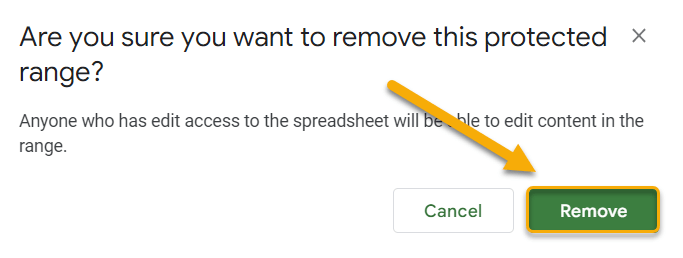
How do I unlock a locked cell?
To unlock a locked cell, click on the Data menu and select Protect sheets and ranges.

Click on the protected cell option saved in the list.

Next, choose the Delete range or sheet protection option (the icon of a trash can).
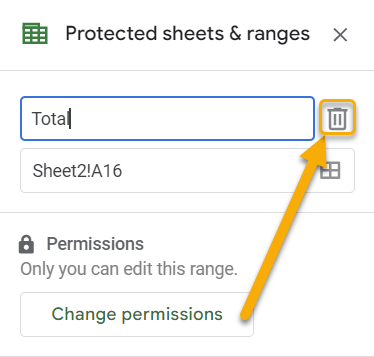
Finally, confirm the action by pressing Remove.
Who can edit the restricted range?
Only those with edit permissions can select and edit the cells in the protected range. For example, if you protect cells A1:E10 and you give someone edit permissions to those cells, that person can select and edit any cell within the protected range. However, they can’t select any other cells on the sheet if they are locked separately.
