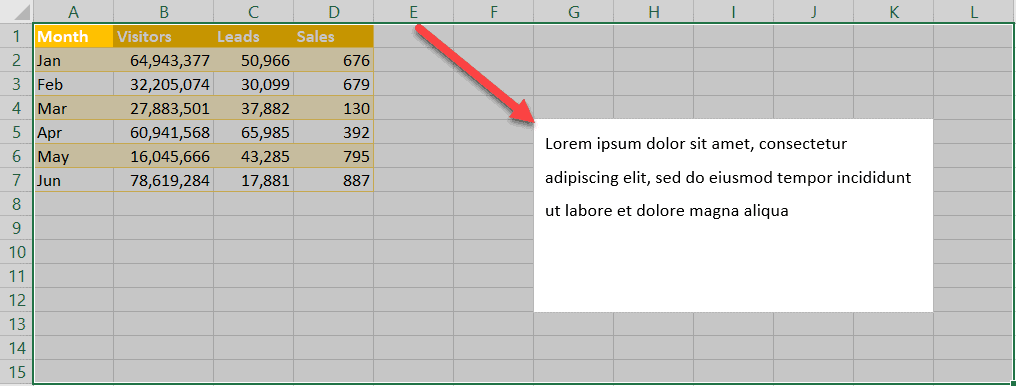
Text boxes (also known as input boxes) are handy containers for text values that allow you to draw attention to certain data and/or provide more context around some elements in your worksheet.
Sounds pretty straightforward, right?
But what if this seemingly simple feature has so much more to bring to the table?
In this ultimate beginner’s guide, you will learn how to add, edit, and remove a text box in all versions of Excel: 2003, 2007, 2010, 2013, 2016, and 2019, as well as discover tons of useful tips and tricks very few people know about.
Use the table of contents to jump straight to the section you’re looking for.
4 Ways to Create a Text Box in Excel
Most users know how to add and delete a sheet in Excel, but text boxes are a lot trickier.
Let’s start with the basics and gradually move on to more complex matters. In Excel, there are always multiple ways to do the same thing, and it’s useful to master them to be able to adjust your approach depending on the task at hand.
Simply put, there are four common ways you can go about crafting a text box.
Let’s briefly cover all of them.
Using the Text Box Tool
The Text Box tool is placed in the Ribbon and has been the go-to technique for quickly adding a text box to a worksheet.
1. Click on any worksheet cell.
2. Go to the Insert tab.
3. Hit the “Text” button.
4. Select “Text Box” from the menu that appears.
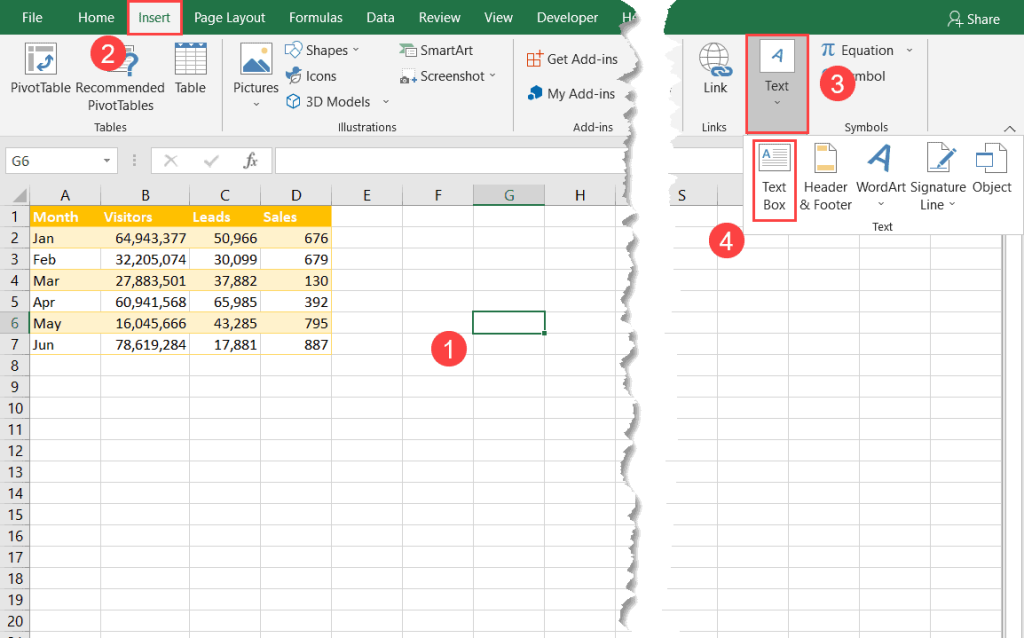
5. Draw your text box wherever you want.

Using the Shortcut
Short on time? We’ve got you covered. The shortcut you’re about to learn allows you to create a text box by pressing just three keys.
To pull it off, press the following keys in sequence (without holding down any of the keys), then click and drag to draw your text box as usual:
- For PC users: Alt + N + X
- For Mac users: Option + N + X
Using the VBA
For those looking to flex their Excel muscles, here’s how to set up a text box using the almighty VBA.
Once you have opened the VBA editor (Developer > Visual Basic), create a new module (Insert > Module), insert the following code, and click “Run:”
Sub TextBoxInVBA()
Set Worksheet = Worksheets(1)
Worksheet.Shapes.AddTextbox(msoTextOrientationHorizontal, _
    150, 150, 100, 200) _
    .TextFrame.Characters.Text = "My Awesome Textbox"
End Sub
There might be a few things you want to tweak, so let’s break down the VBA code in greater detail.
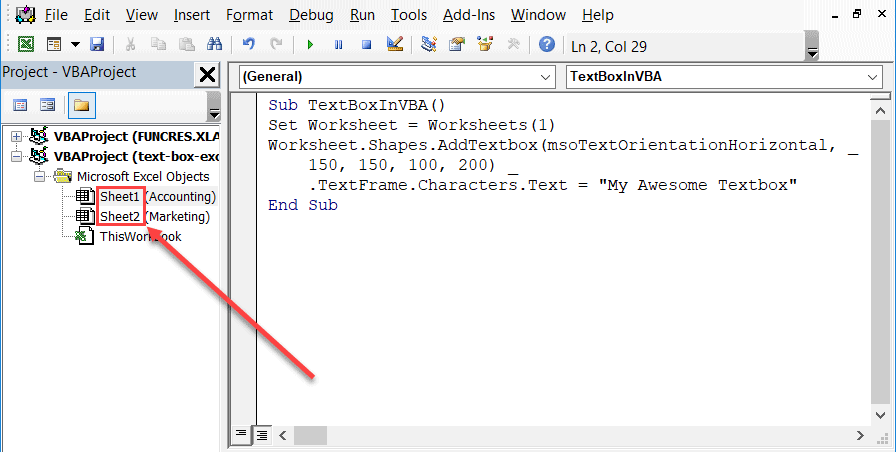
1. Set Worksheet = Worksheets(1) – This line of code locates the worksheet you want the VBA to work in.
The code shown above picks the first worksheet in your workbook, but you can change that by modifying the “Worksheets(1)” value to “Worksheets(2)” or whatever number reflects the location of your worksheet.
But how do you know where to find this value? Use this screenshot to find out where your worksheet is placed.
2. Worksheet.Shapes.AddTextbox(msoTextOrientationHorizontal, _ 150, 150, 100, 200) _ – This determines the place of the text box in the worksheet as well as its size.
- Left (150) and top (150): These two values characterize the position (in points) of where to place the text box relative to the top of the worksheet.
- Width (100): This value defines the width of your text box.
- Height (200): This value specifies the height of your text box.
3. .TextFrame.Characters.Text = “My Awesome Textbox” – Finally, this is where you should enter the text you want to insert into your input box. Replace “My Awesome Textbox” with the text you want to use.
Using ActiveX Controls
If you need to unlock advanced customization options (for instance, to add a scrollbar to your text box), opt for this method.
1. Navigate to the Developer tab.
2. In the Controls group, select the “Insert” tab.
3. Under ActiveX Controls, click “Text Box (ActiveX Control).”

4. Draw your text box, and you’re good to go.
How to Edit a Text Box
Excel provides many built-in customization tools, allowing you to spruce up your text box.
In this part of the tutorial, we will walk you through how you can use the Text Box section (Format Shape > Size & Properties > Text Box) to make your input boxes more visually appealing.
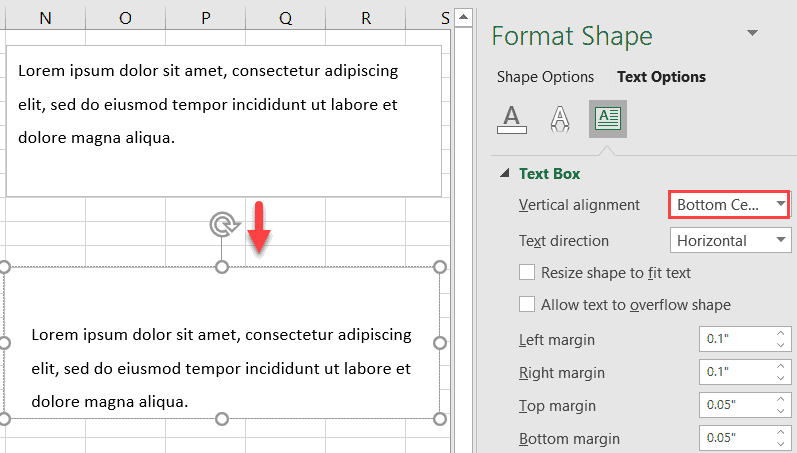
Vertical Alignment
This setting allows you to align the text inside your input box. There are multiple ways you can go about that:
- Top
- Middle
- Bottom
- Top Centered
- Middle Centered
- Bottom Centered
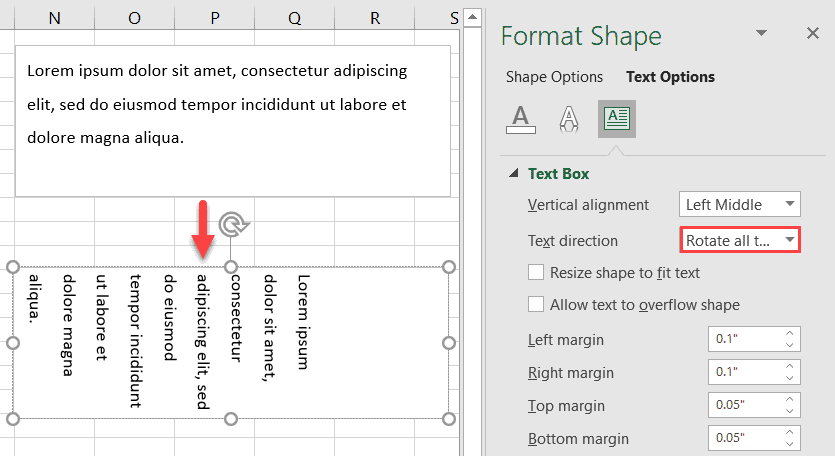
Text Direction
This setting gives you the option to change the orientation of the text in your text box. The customization options go as follows:
- Horizontal
- Rotate all text 90°
- Rotate all text 270°
- Stacked
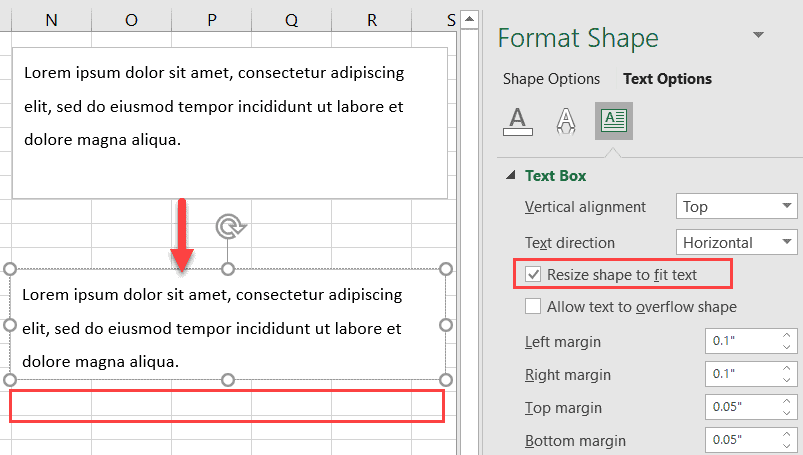
Resize Shape to Fix Text
Checking this box will adjust the size of the text box based on the amount of text in it, removing any unnecessary empty space.
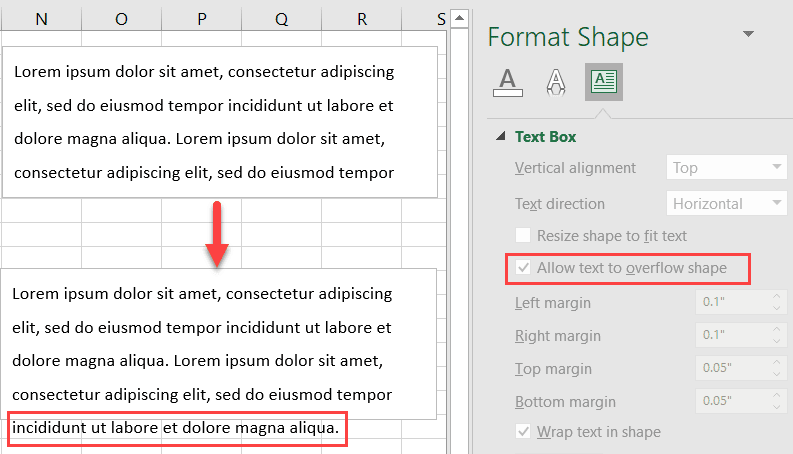
Allow Text to Overflow Shape
By checking this box, you allow the content of the text box to overflow into other cells if the text can’t fit into the space within the text box.
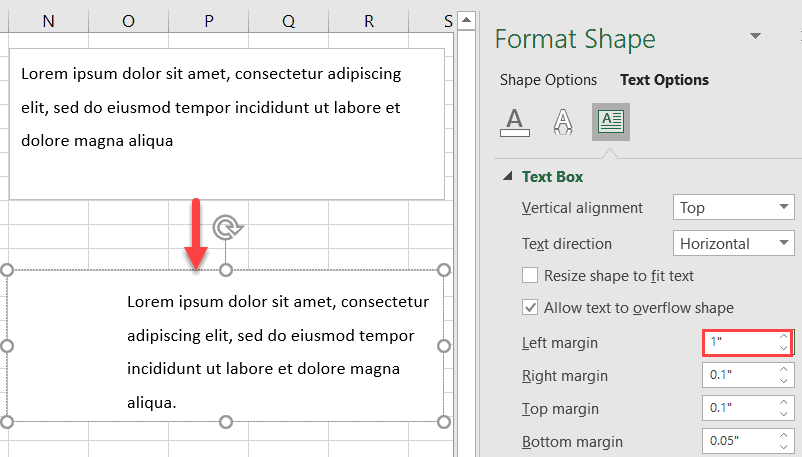
Left, Right, Top, Bottom Margin
Tweak these values to change the margin for each side of your text box.
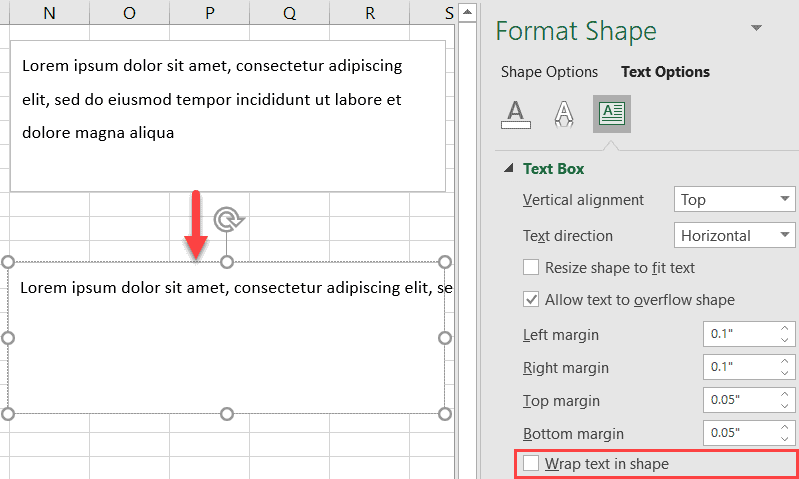
Wrap Text in Shape
Uncheck this box to stop text wrapping within the text box.
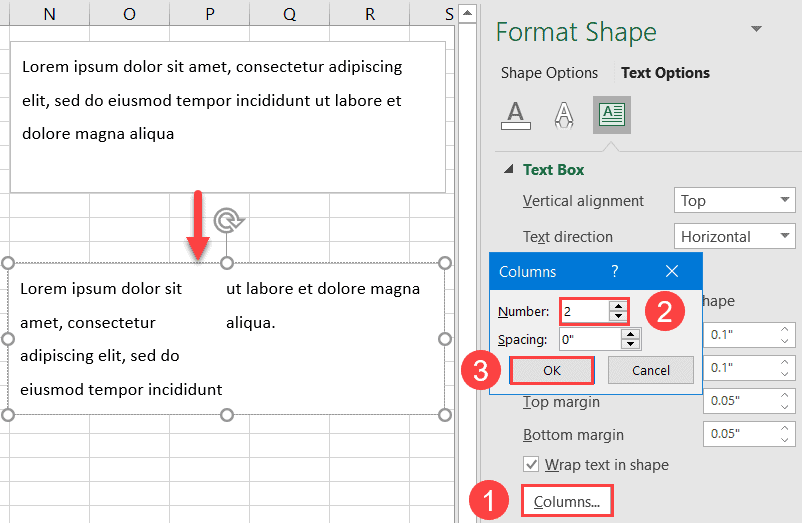
Columns
This setting allows you to split your text box into multiple columns. To do that, follow these steps:
1. Select the “Columns” button.
2. Set the “Number” value to “2.”
3. Click “OK.”
How to Delete a Text Box
To remove a text box, click on the edge of the text box you want to remove and hit the Delete key.
If you want to erase multiple text boxes at once, select the border of every text box you want to remove while holding down the Shift key and hit the Delete key.
10 FAQs: How to Use Text Boxes in Excel
Now that the essentials have been covered, we have prepared a list of the most common issues Excel users encounter when using text boxes. Below you will find detailed, step-by-step instructions on how you can tackle them with ease.
1. How to Insert a Formula or a Worksheet Cell into a Text Box
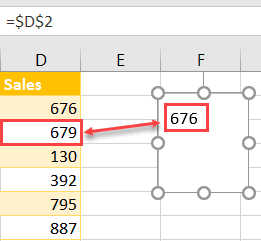
If you’re looking to set up a dynamic text box linked to a formula or even a worksheet cell, here’s how to do that:
1. Select your text box.
2. Enter “=” into the Formula bar.
3. Select the value or type the formula you want to insert into your text box.
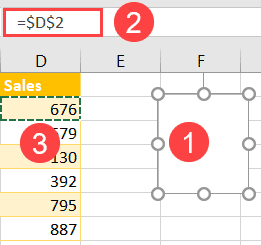
And that’s it! You have successfully linked a worksheet cell or formula to your text box, which will adjust automatically to any changes you make.
2. How to Change Line Spacing
To change the line spacing in Excel within a text box, follow these four simple steps:
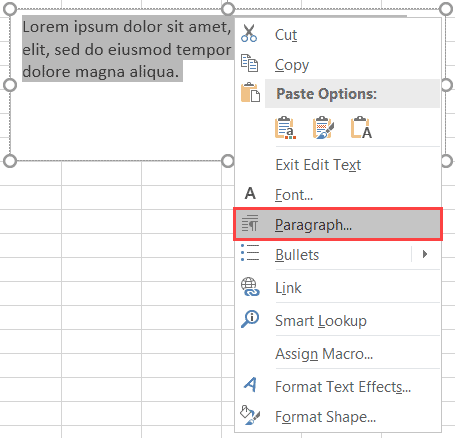
1. Highlight all the text in your input box and right-click on it.
2. In the contextual menu that appears, select “Paragraph.”
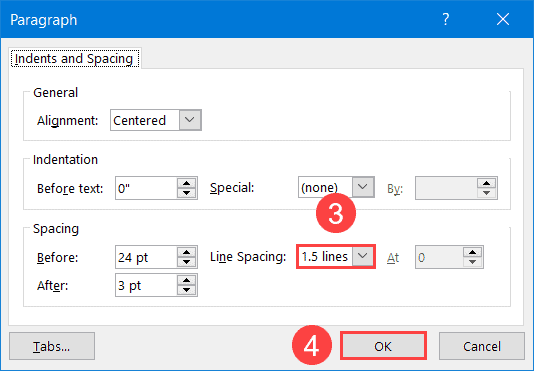
3. In the Spacing section, set the “Line Spacing” value to “1.5 lines.”’
4. Click “OK.”
3. How to Move a Text Box Around
Though a seemingly simple task, many people don’t know how to change the position of a text box. Here’s how you do it:
1. Hover the mouse over the border of your text box—it will change from an arrow to a cross.
2. Click the text box and drag it to a new location within your worksheet.
4. How to Lock/Freeze a Text Box
If you’re looking to lock the position of your text box within your worksheet, follow the quick and easy instructions outlined below:
1. Highlight all cells on your worksheet by clicking the “Select All” button in the upper left corner of the worksheet.
2. Go to the Home tab.
3. In the Cells group, select “Format.”
4. Under “Protection,” click “Lock Cell.”
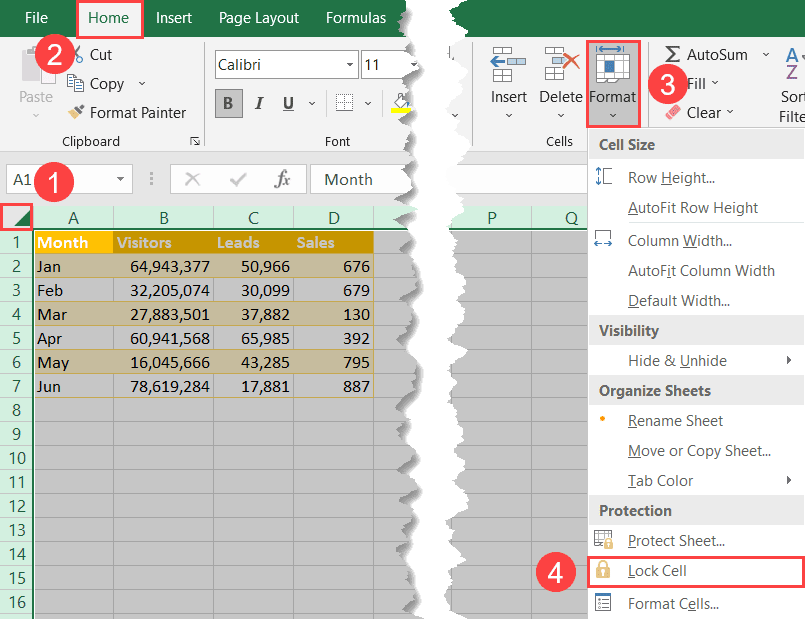
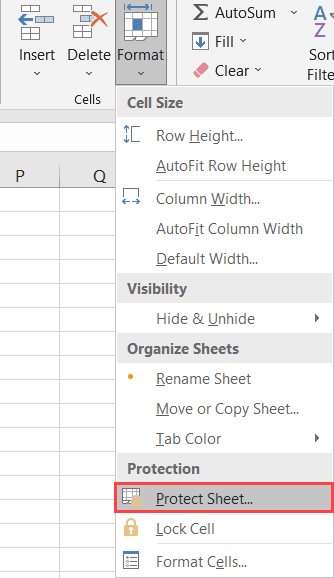
5. After you have done that, navigate to the same Format dropdown menu and pick “Protect Sheet.”
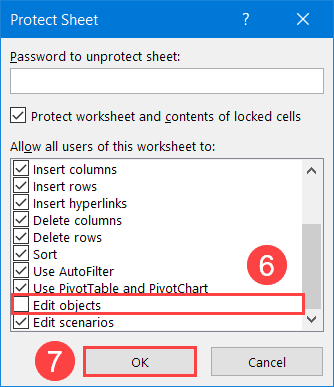
6. In the Protect Sheet dialog box, check all the boxes except for “Edit objects” so that you can continue to work in Excel as usual.
7. Click “OK” to close out of the dialog box.
Ta-da – you’re all set. You can’t select, move, or edit the text box while still being able to work with the rest of the worksheet as usual.
For for customization options, check out our guide covering how to lock cells in Excel.
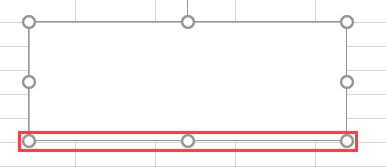
5. How to Remove the Border of a Text Box
Removing the border comes in handy when you’re building Excel dashboards and want your text box to fit in. To quickly delete the default grey borders, do the following:
1. Right-click on the text box and select “Format Shape.”

2. In the task pane that appears, click the “Fill & Line” button.
3. Under “Line,” select “No line.”
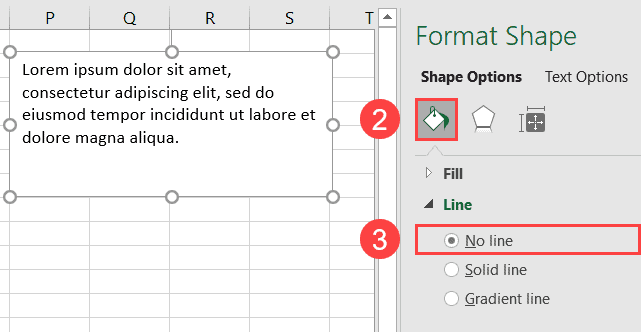
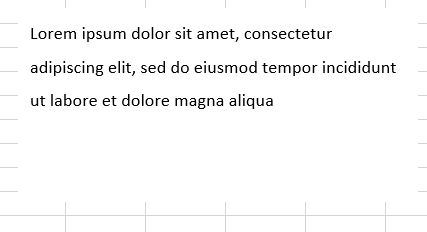
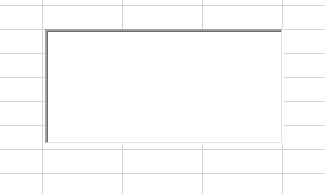
At this point, your text box should look like this:
6. How to Make a Text Box Larger
To change the size of your text box, select it and drag any selection handle to resize the element however you want.

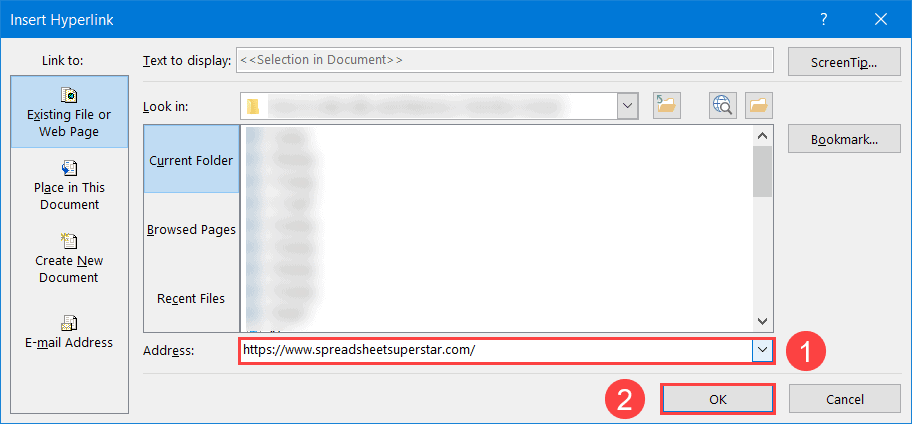
7. How to Add Hyperlinks to a Text Box
Excel even makes it possible for you to add links to your text box which opens a whole new layer of customization options. Here’s how you can easily pull it off:
1. Right-click on your text box and choose “Link.”
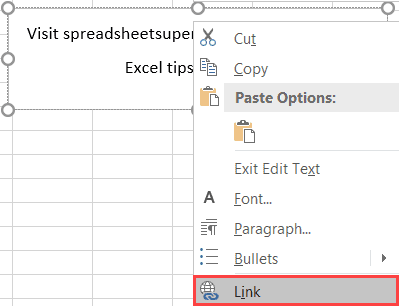
2. In the “Address” field, enter the URL you want to link to.
3. Click “OK.”
8. How to Make a Text Box Transparent
To change the opacity of your text box, simply tweak the “Opacity” value in the Format Shape task pane.
1. Right-click on your text box and choose “Format Shape.”
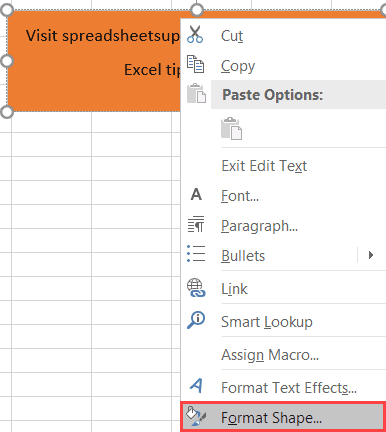
2. Switch to the Fill & Line tab.
3. Change the “Transparency” value from “0%” to “60%.”
9. Create a Text Box with a Scrollbar
With a bit of Excel magic, you can even make your text box scrollable! And the funny thing is how easily you can make that happen.
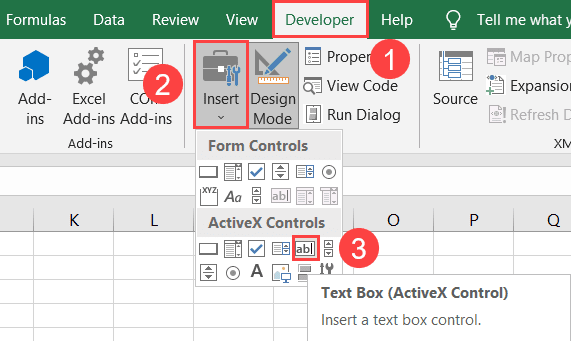
1. Go to the Developer tab.
2. Hit the “Insert” button.
3. Choose “Text Box (ActiveX Control).”

4. Draw your text box.
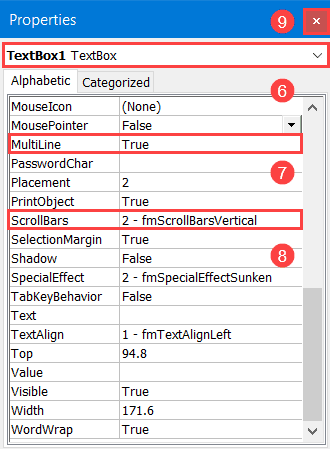
5. In the Developer tab, choose “Properties.”
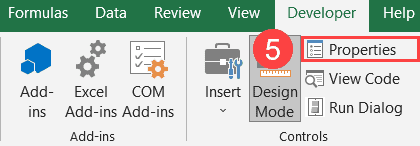
6. Click the drop-down menu and select “TextBox1 TextBox.”
7. Set the “Multiline” value to “True.”
8. Set the “ScrollBars” value to “2 – fmScrollBarsVertical.”
9. Close out of the dialog box.
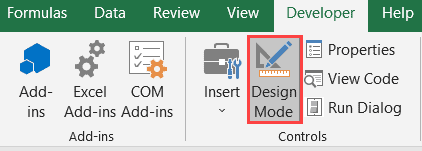
10. Click the “Design Mode” button to exit the design mode.
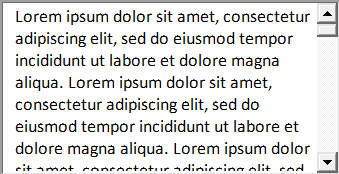
You have just added a scrollbar to your text box.
10. How to Apply Conditional Formatting to a Text Box
This technique relies on VBA to change the style of a text box based on its actual value. Use this trick to blow your friends and colleagues away.
1. Go to the Developer tab.
2. Click “Insert.”
3. Choose “Text Box (ActiveX Control).”
4. Draw your text box.
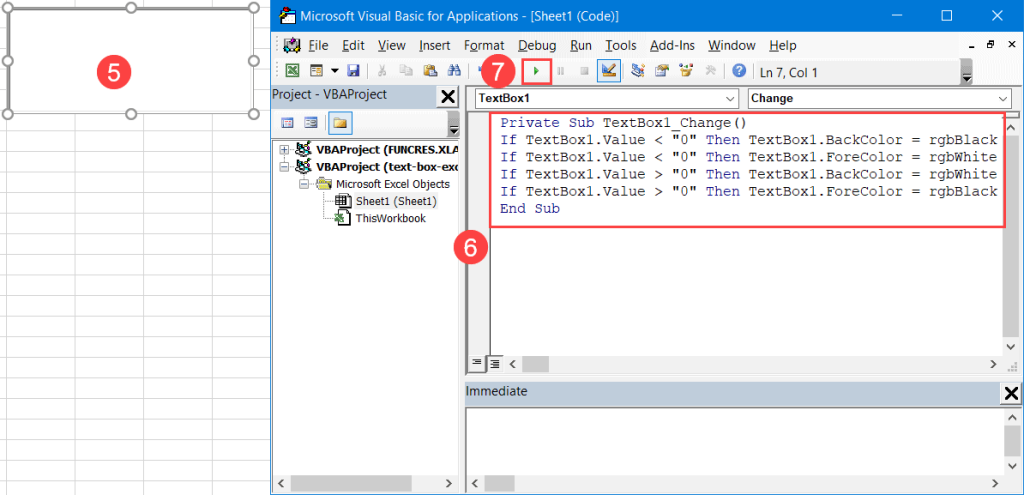
5. Double-click on the text box to open the VBA editor.
6. Enter the following code into the editor:
Private Sub TextBox1_Change()
If TextBox1.Value < "0" Then TextBox1.BackColor = rgbBlack
If TextBox1.Value < "0" Then TextBox1.ForeColor = rgbWhite
If TextBox1.Value > "0" Then TextBox1.BackColor = rgbWhite
If TextBox1.Value > "0" Then TextBox1.ForeColor = rgbBlack
End Sub
Let’s break down the code for you to easily adapt it:
- TextBox1.Value < “0” – This variable lays the foundation for each of the IF statements. In plain English, if you analyze the second line of code, you tell Excel that if the text box value equals less than “0,” then the text box should be formatted in a way specified in the second part of the IF statement.
- TextBox1.BackColor = rgbBlack – This variable is responsible for changing the background color of your text box. Change “rgbBlack” to “rgbPink” to color the background in pink.
- TextBox1.ForeColor = rgbWhite – This variable changes the font color within your text box. Modify the “rgbWhite” value to apply conditional formatting based on the way the first part of the IF statement is set up.
7. Click “Run Sub/UserForm.”
And there you go! You have now applied conditional formatting to your text box.