
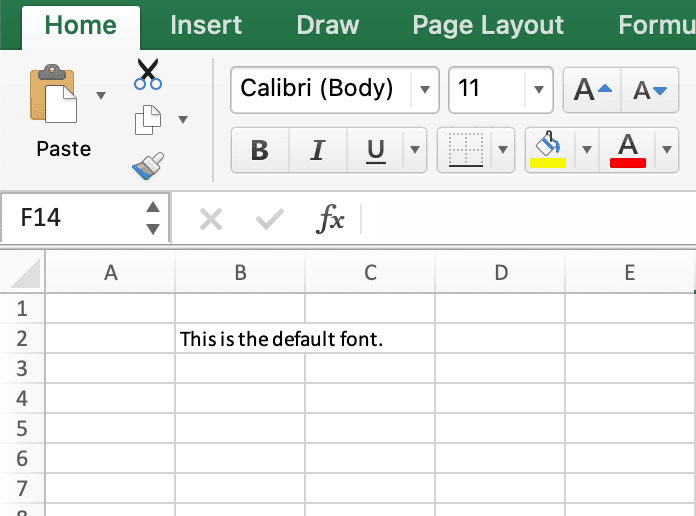
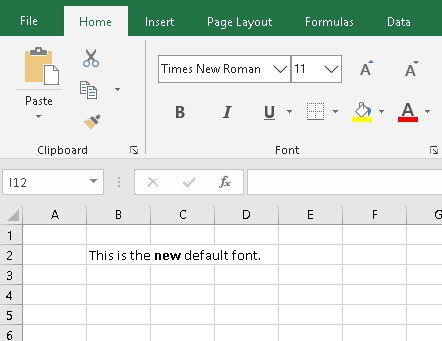
You may have already noticed that the default font in Microsoft Excel is Calibri, font size 11.
A lot of people like this font because of its warmth and rounded lines, but it doesn’t mean you’re supposed to use it all the time.
When you have to change the font only once to achieve a specific goal, you can easily do it using the tools in the Font group.
But what if you need to use a different font in all of the spreadsheets you create? The good news is that there’s a quick-and-dirty way to do that.
In this tutorial, you will learn how to change the default font in Excel.
Why Would I Ever Need To Change My Default Font?
Changing your default font can save you a great deal of time and help avoid the situation when you have different formatting across the same workbook.
Additionally, there are more possible reasons why you may want to do that:
- your organization (be it your school, university, or company) may have specific font requirements;
- there is a need to use a specific font that will make it easier to visualize certain information;
- you want to add a personal touch to your data;
- you’re just sick and tired of Calibri.
Without beating around the bush, let’s get started.
How to Set a Default Font (Windows)
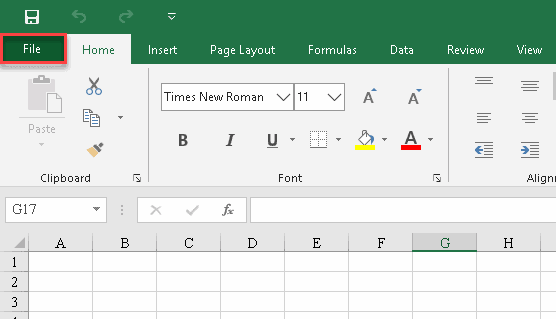
For Windows users, changing a default font is as easy as shelling peas.1. Click the File tab.
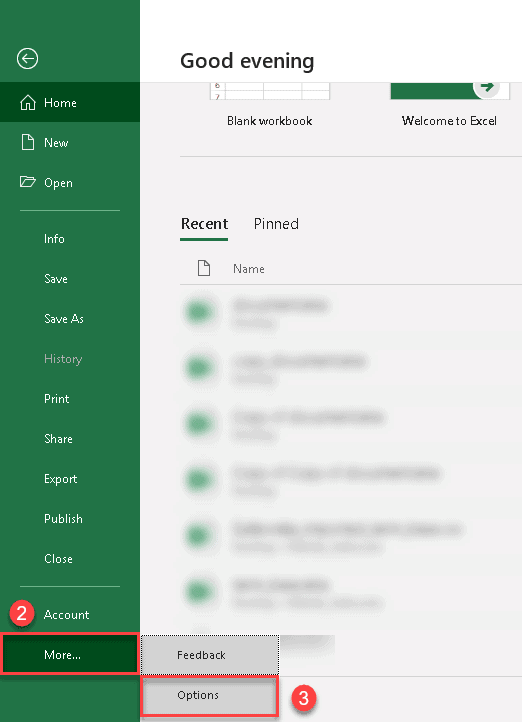
2. Click “More…”
3. Select “Options” from the sidebar on the left.
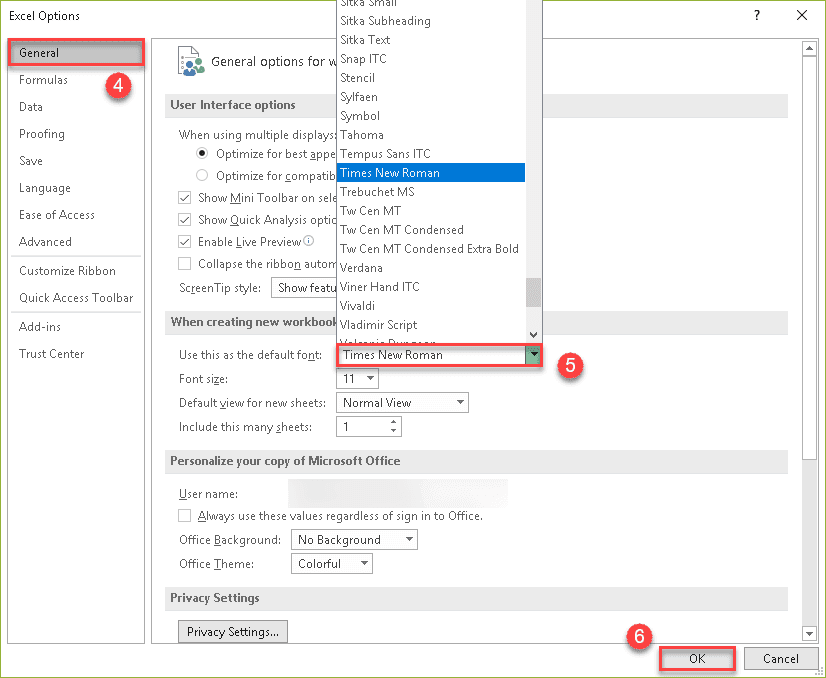
4. Once there, the Excel Options dialog box should pop up where you need to navigate to the General tab.
5. Select “Times New Roman” from the drop-down menu next to “Use this as the default font” to set it as your new default font.
6. Once you have finished, click “OK” to apply the changes.
7. When you close the dialog box, you will be asked to restart Excel. Click “OK”.
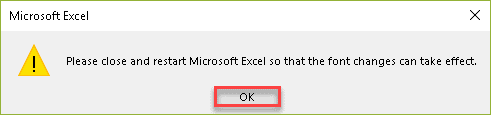
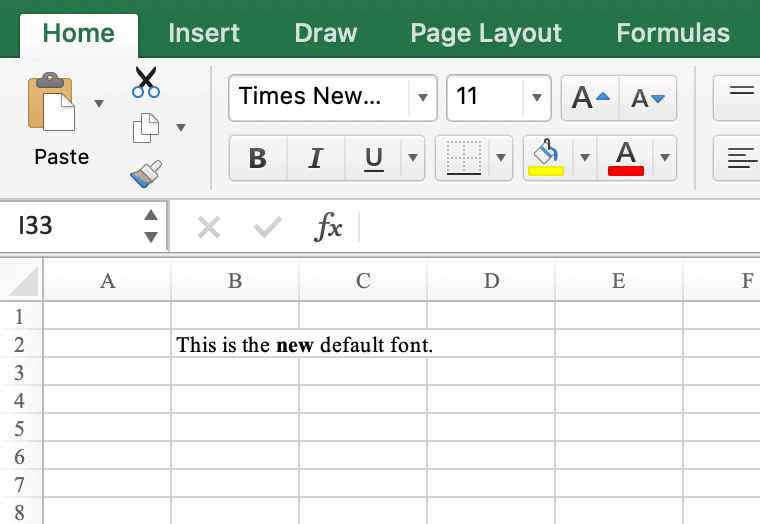
8. Make sure you’ve saved everything you need and restart the application. The new font will be automatically applied to all of the new workbooks you’re going to create.
How to Set a Default Font (Mac)
If you’re using a Mac, follow the steps outlined below to change the default font in Excel.
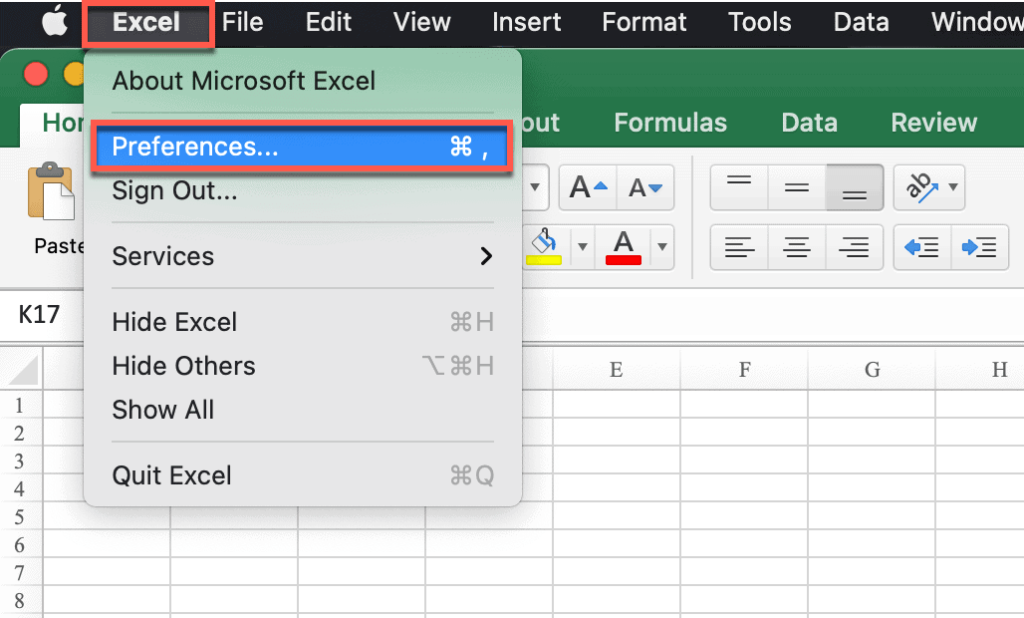
1. Click the Excel menu and choose “Preferences.”
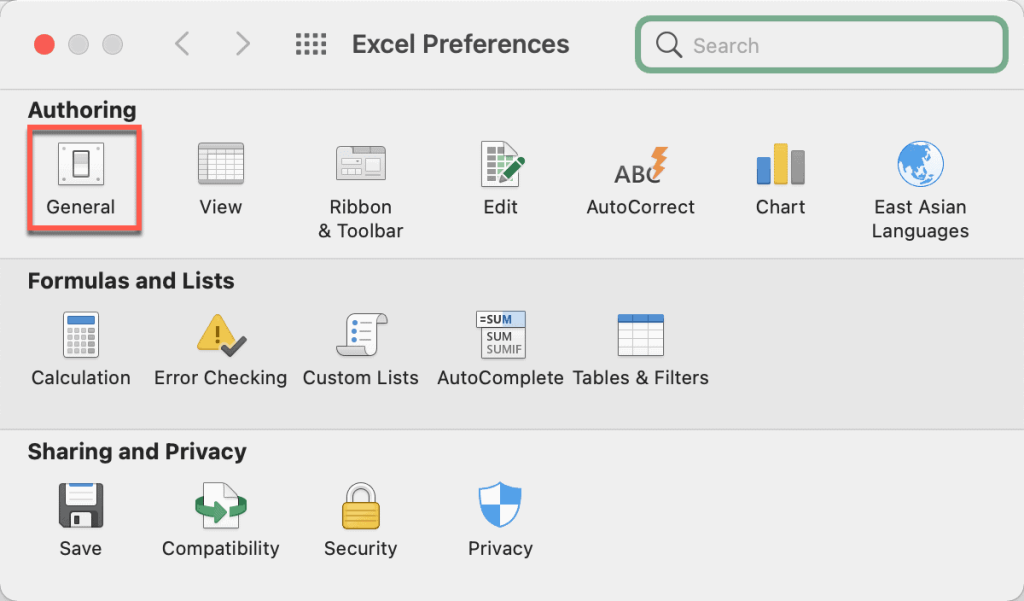
2. In the Excel Preferences dialog box that appears, under “Authoring,” select “General.”
3. Open the drop-down menu next to “Default font” and pick your new default font.

4. Once you’re done, you will be asked to restart Excel. Click “OK”.
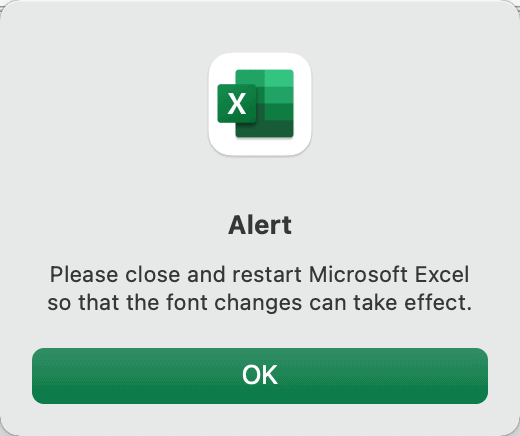
5. If you have no unsaved changes, restart the application. When you create a new workbook, it will use the new default font.
Congratulations! Now you are one step closer to taming Excel.
